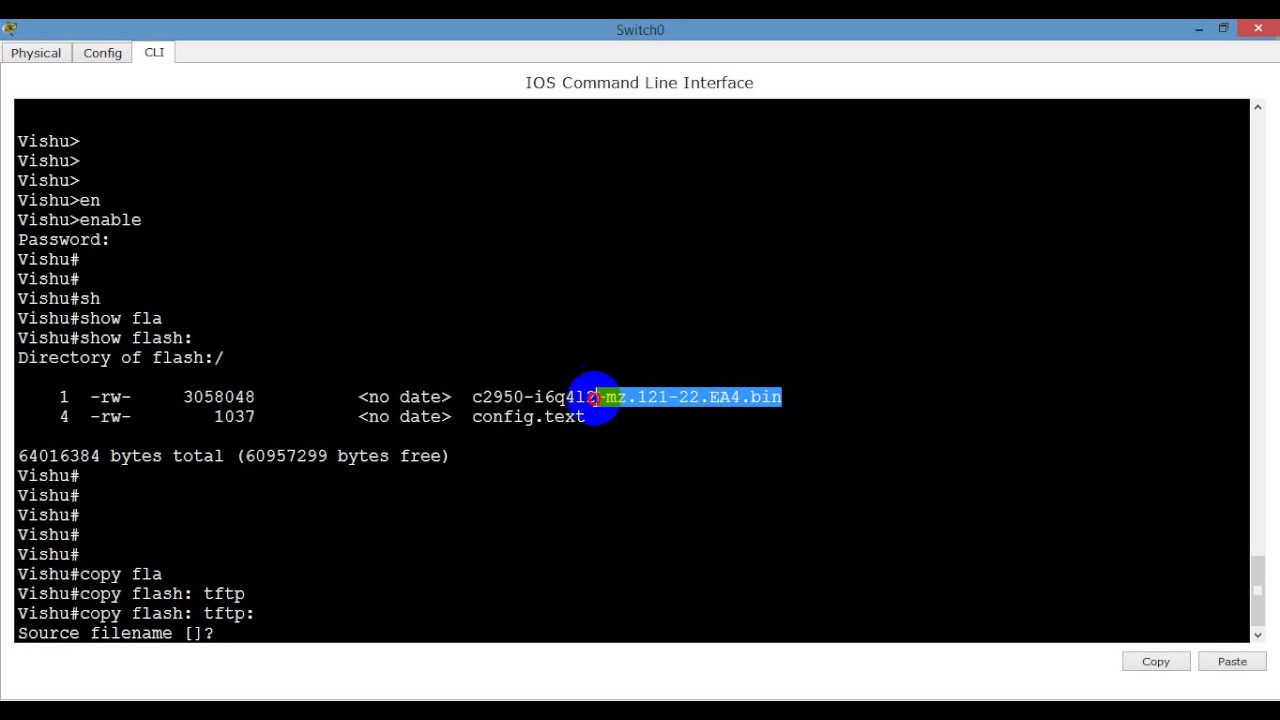
To back up a Cisco switch IOS to a TFTP server, use the “copy flash tftp” command, followed by the TFTP server’s IP address and the destination file name. This command will initiate the backup process and transfer the IOS image to the TFTP server.
Backing up a Cisco switch IOS to a TFTP server is essential for safeguarding your network infrastructure. By creating a backup, you can ensure that in the event of a failure or unexpected issue, you have a copy of the IOS image readily available for restoration.
This process involves using the “copy flash tftp” command in the Cisco switch’s command line interface, allowing you to specify the TFTP server’s IP address and the destination file name. By following these steps, you can effectively secure your network by backing up the Cisco switch IOS to a TFTP server.

Credit: www.geeksforgeeks.org
Preparing For Backup
Check TFTP Server Availability
Ensure Connectivity to TFTP Server
To backup Cisco Switch IOS to TFTP server, it is crucial to first check the availability of the TFTP server. Make sure it is up and running. This step is essential to ensure a smooth backup process.
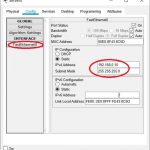
Once you have confirmed the TFTP server availability, the next step is to establish connectivity to the TFTP server. This can be done by pinging the server IP address from the Cisco switch. If the ping is successful, it indicates a successful connection.
By following these steps, you are ensuring that the TFTP server is accessible and ready for the backup process. These precautions are necessary to prevent any interruptions during the backup.
Accessing Cisco Switch
To backup Cisco Switch IOS to a TFTP Server, accessing the switch is crucial. Log into the switch to access the desired configuration settings. Enter Privileged EXEC mode to perform configuration changes. Securely store the IOS backup file on the designated TFTP server for data safety.
Initiating Backup Process
To backup IOS to TFTP server, initiate process by entering copy command. Specify source and destination to complete backup procedure efficiently.
Credit: itskillbuilding.com
Verifying Backup
For successful verification of the backup on a Cisco switch, there are two key steps to consider:
- Check the TFTP server for the backup file:
- Ensure the TFTP server is running and reachable by pinging its IP address.
- Verify that the backup file exists on the TFTP server by navigating to the directory where the backups are stored.
- Confirm the successful transfer:
- Compare the file size of the backup on the Cisco switch and the backup on the TFTP server to ensure they match.
- Verify the integrity of the backup file by checking its hash value against the original file.
- Attempt to restore the backed-up IOS image onto a different Cisco switch to ensure it works properly.
Troubleshooting
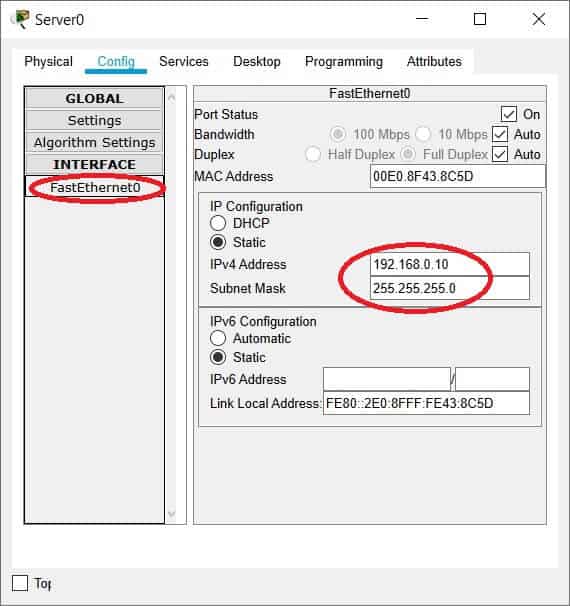
When troubleshooting issues with backing up Cisco IOS to a TFTP server, it is important to first verify the switch configuration. Ensure that the switch has the correct IP address for the TFTP server and that the TFTP service is running. Next, it is crucial to verify the TFTP server configuration to ensure that it is properly set up and accessible from the switch. By ensuring these configurations are correct, you can resolve potential issues and successfully back up the Cisco IOS to the TFTP server.
Credit: m.youtube.com
Conclusion
Backing up your Cisco Switch IOS to a TFTP server is an essential step in maintaining the security and stability of your network infrastructure. By following the step-by-step guide provided in this blog post, you can ensure that your valuable configuration and operating system files are securely stored and easily recoverable in the event of a system failure or disaster.
Take the necessary precautions and never underestimate the importance of regular backups.