To connect a printer to your Mac, first, ensure the printer is compatible with macOS. Then, connect the printer to your Mac using a USB cable or through your Wi-Fi network.
Setting up a printer on your Mac is a straightforward process that enables you to seamlessly print documents, photos, and other files. By following a few simple steps, you can quickly connect your printer to your Mac and start printing in no time.
Whether you’re using a wired or wireless connection, this guide will walk you through the process and have your printer up and running efficiently. We will cover everything you need to know about connecting a printer to your Mac, including troubleshooting common issues that may arise during the setup process.
Setting Up Your Printer
Before setting up your printer, ensure it is compatible with your Mac. Check the manufacturer’s website for compatibility information.
Start by connecting the printer to a power source and turning it on.
Next, install the ink or toner cartridges according to the printer’s instructions.
Then, load the printer with the appropriate paper, ensuring it is aligned correctly.
Credit: www.ch.cam.ac.uk
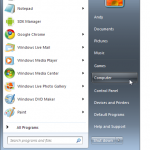
Connecting Printer To Mac
Connecting a printer to your Mac is easy and can be done using a USB cable or through a Wi-Fi or Bluetooth connection.
Using a USB cable is a straightforward way to connect your printer to your Mac. Simply plug one end of the cable into your printer and the other end into the USB port on your Mac. Your Mac should automatically detect the printer and install any necessary drivers.
Alternatively, if your printer supports Wi-Fi or Bluetooth connectivity, you can connect it to your Mac wirelessly. Simply enable the Wi-Fi or Bluetooth feature on your printer and follow the instructions on your Mac to add the printer to your network.
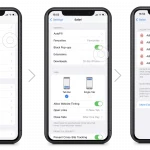
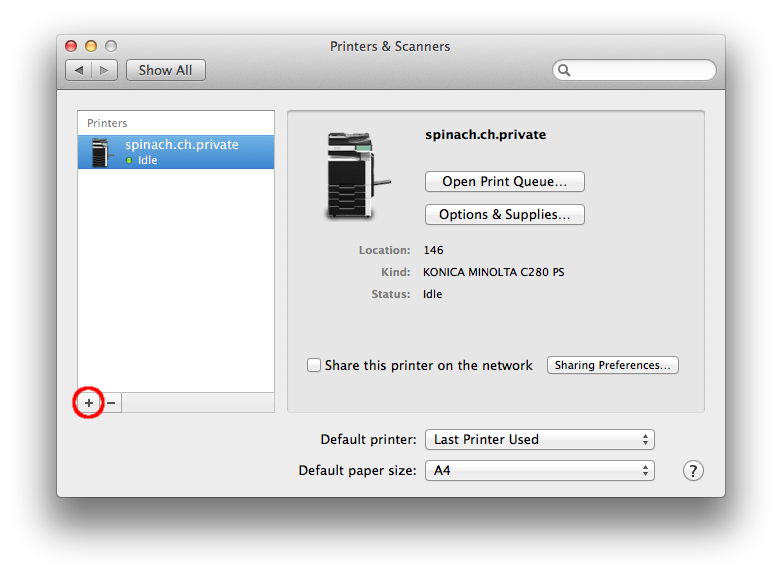
Configuring Printer Settings On Mac
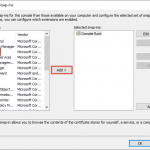
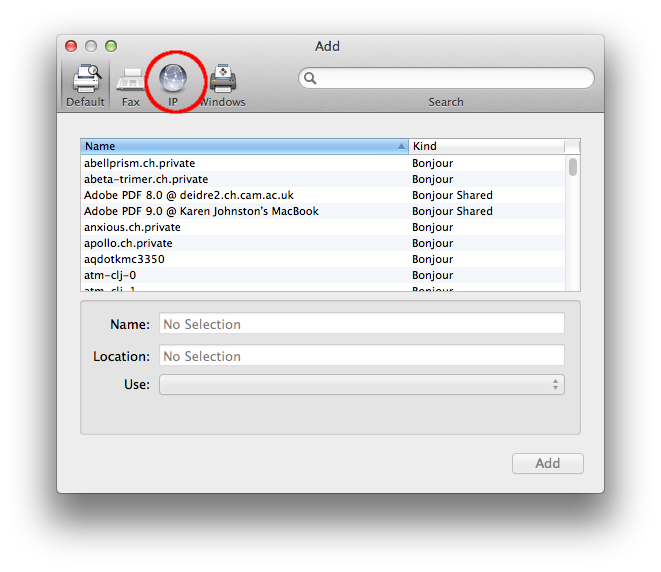
To configure printer settings on a Mac, start by connecting the printer to the computer. Then, open System Preferences and select Printers & Scanners. Click the “+” button to add the printer, choose the printer from the list, and follow the on-screen instructions to complete the setup.
Easy as that!
| Adding Printer in System Preferences | Adjusting Print Quality and Paper Size | Setting Default Printer |
| 1. Open System Preferences. | 1. Click on the printer you added. | 1. Select the printer in the list. |
| 2. Go to Printers & Scanners. | 2. Choose Print Settings. | 2. Right-click to set as default. |
| 3. Click the “+” sign to add. | 3. Customize print settings. | 3. Your default printer is set. |

Credit: support.apple.com
Testing The Printer
Connecting a printer to a Mac is a straightforward process. To ensure that the printer is working properly, it is important to test it. One way to do this is by printing a test page. This will help verify that the printer is able to communicate with the Mac and produce output. Another important step is to check for any printer updates. Manufacturers often release updates that can improve the printer’s performance or add new features. To check for updates, navigate to the printer’s settings or preferences and look for a section related to firmware or software updates. If updates are available, download and install them to keep the printer up to date. By following these steps, you can ensure that your printer is properly connected to your Mac and functioning correctly.
Troubleshooting
To troubleshoot printer connection issues on your Mac, start by updating the printer drivers. Old or outdated drivers can cause compatibility issues and prevent the printer from connecting properly. To update the drivers:
- Go to the official website of your printer manufacturer and navigate to the support or downloads section.
- Locate the printer model and download the latest drivers compatible with your Mac’s operating system.
- Once the drivers are downloaded, install them on your Mac by following the on-screen instructions.
- After the installation is complete, restart your Mac to ensure the changes take effect.
If updating the drivers doesn’t resolve the issue, try disconnecting and reconnecting the printer. Unplug the printer from the power source, wait for a few seconds, and then plug it back in. Make sure the printer is properly connected to your Mac using a USB cable or a wireless network connection.
If the problem persists, consult the printer’s user manual or contact the manufacturer’s support for further assistance.
Credit: www.ch.cam.ac.uk
Printing From Mac
Connecting a printer to Mac is very easy. Simply plug in the printer.
Go to System Preferences, then Printers & Scanners.
Click on the “+” button to add the printer and select it from the list.
Frequently Asked Questions On How To Connect A Printer To Mac
How Do I Connect A Printer To My Mac?
To connect a printer to your Mac, first, make sure the printer is compatible with Mac OS. Then, connect the printer to your Mac using a USB cable or via your Wi-Fi network. Next, go to “System Preferences” on your Mac and select “Printers & Scanners.
” Click the “+” button to add your printer and follow the on-screen instructions to complete the setup.
Can I Connect A Wireless Printer To My Mac?
Yes, you can connect a wireless printer to your Mac. Make sure the printer is connected to your Wi-Fi network and is turned on. On your Mac, go to “System Preferences,” select “Printers & Scanners,” and click the “+” button.
Choose your wireless printer from the list and follow the instructions to add and set up the printer.
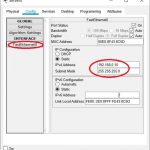
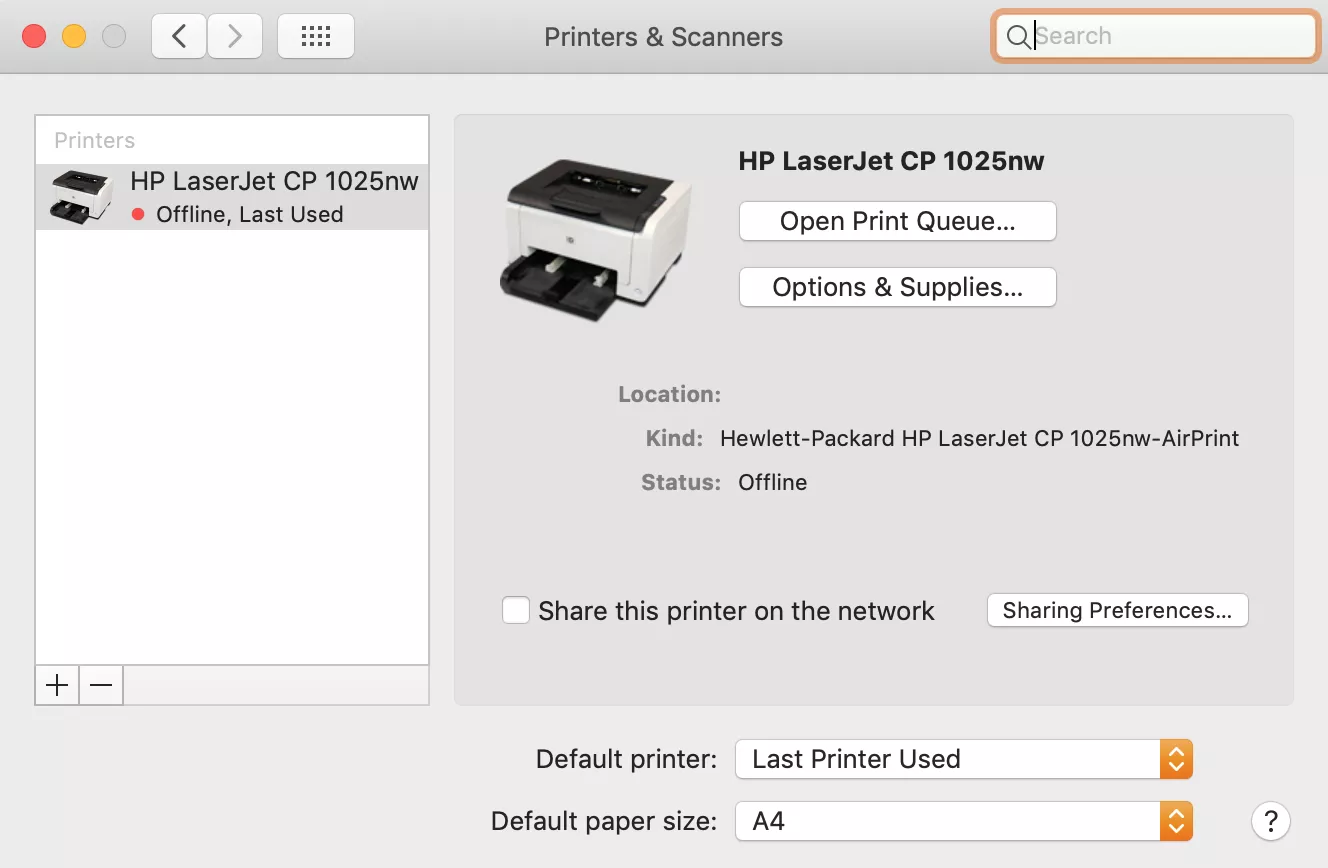
How Do I Find The Printer’s Ip Address On My Mac?
To find the printer’s IP address on your Mac, go to “System Preferences,” select “Printers & Scanners,” and choose your printer from the list. Click the “Options & Supplies” button and go to the “General” tab. The printer’s IP address should be listed there.
Make sure the printer is connected to your network for the IP address to display.
What Should I Do If My Mac Doesn’t Recognize The Printer?
If your Mac doesn’t recognize the printer, ensure that the printer is powered on and properly connected to your Mac. You can try disconnecting and reconnecting the USB cable or restarting your Mac. If the issue persists, check the printer’s compatibility with your Mac’s operating system and download and install the latest printer driver from the manufacturer’s website.
Conclusion
Connecting a printer to your Mac is straightforward. Follow the simple steps outlined in this guide to set up your printer seamlessly. Remember that troubleshooting tips can help resolve any issues that may arise. By following these instructions, you can enjoy a hassle-free printing experience on your Mac.