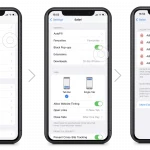
To enable/disable FileVault on Mac, go to System Preferences, Security & Privacy, and choose FileVault tab. FileVault is a native data encryption feature on macOS that adds an extra layer of security to your files and disks, protecting them from unauthorized access.
By enabling FileVault, you ensure that your data remains secure even if your Mac gets into the wrong hands. Conversely, disabling FileVault removes this encryption, simplifying access to your files but at the cost of reduced security. Understanding how to manage FileVault settings is essential for maintaining the balance between convenience and data protection on your Mac.

Credit: busdm-event.bumc.bu.edu
What Is Filevault?
Learn how to enhance your Mac’s security by activating or deactivating FileVault, providing robust encryption for your valuable data. FileVault secures your files and helps safeguard your privacy in case your Mac is lost or stolen.
| FileVault is a feature on Mac that encrypts your data to secure it. |
| It protects your files by converting them into an unreadable format. |
Why Enable/disable Filevault?
FileVault is a security feature in Mac that allows users to encrypt their data to protect it from unauthorized access. Enabling FileVault provides numerous security benefits. Firstly, it ensures that all files and data on your Mac are securely encrypted, making it virtually impossible for anyone to access them without your permission. This is especially important if your Mac contains sensitive or personal information.
Moreover, FileVault also helps protect your data in case your Mac gets stolen. Even if someone were to remove the hard drive from your Mac and attempt to access the data, they wouldn’t be able to read it without the correct encryption password.
However, there are some performance considerations to keep in mind when enabling FileVault. Encrypting and decrypting files may slightly impact the performance of your Mac, especially during the initial encryption process. This could result in slower read and write speeds, particularly on older or slower machines. However, with modern Macs, the impact on performance is generally minimal and shouldn’t cause significant disruptions.
| Security Benefits of Enabling FileVault | Performance Considerations |
|---|---|
| – Protects sensitive or personal data | – Encryption process may impact performance |
| – Prevents unauthorized access to files | – Slower read and write speeds during encryption |
| – Protects data in case of theft | – Minimal impact on performance with modern Macs |
Enabling Filevault
Enabling FileVault on your Mac is a straightforward process. You can secure your data by following these steps:
- Go to System Preferences.
- Select Security & Privacy.
- Click on FileVault.
Once you have completed these steps, your Mac will prompt you to choose whether you want to enable FileVault for your user account or for all user accounts on the computer. Choose the appropriate option according to your preferences. It is important to note that FileVault requires a password in order to decrypt the data, so make sure to remember it or store it securely.
Credit: iboysoft.com
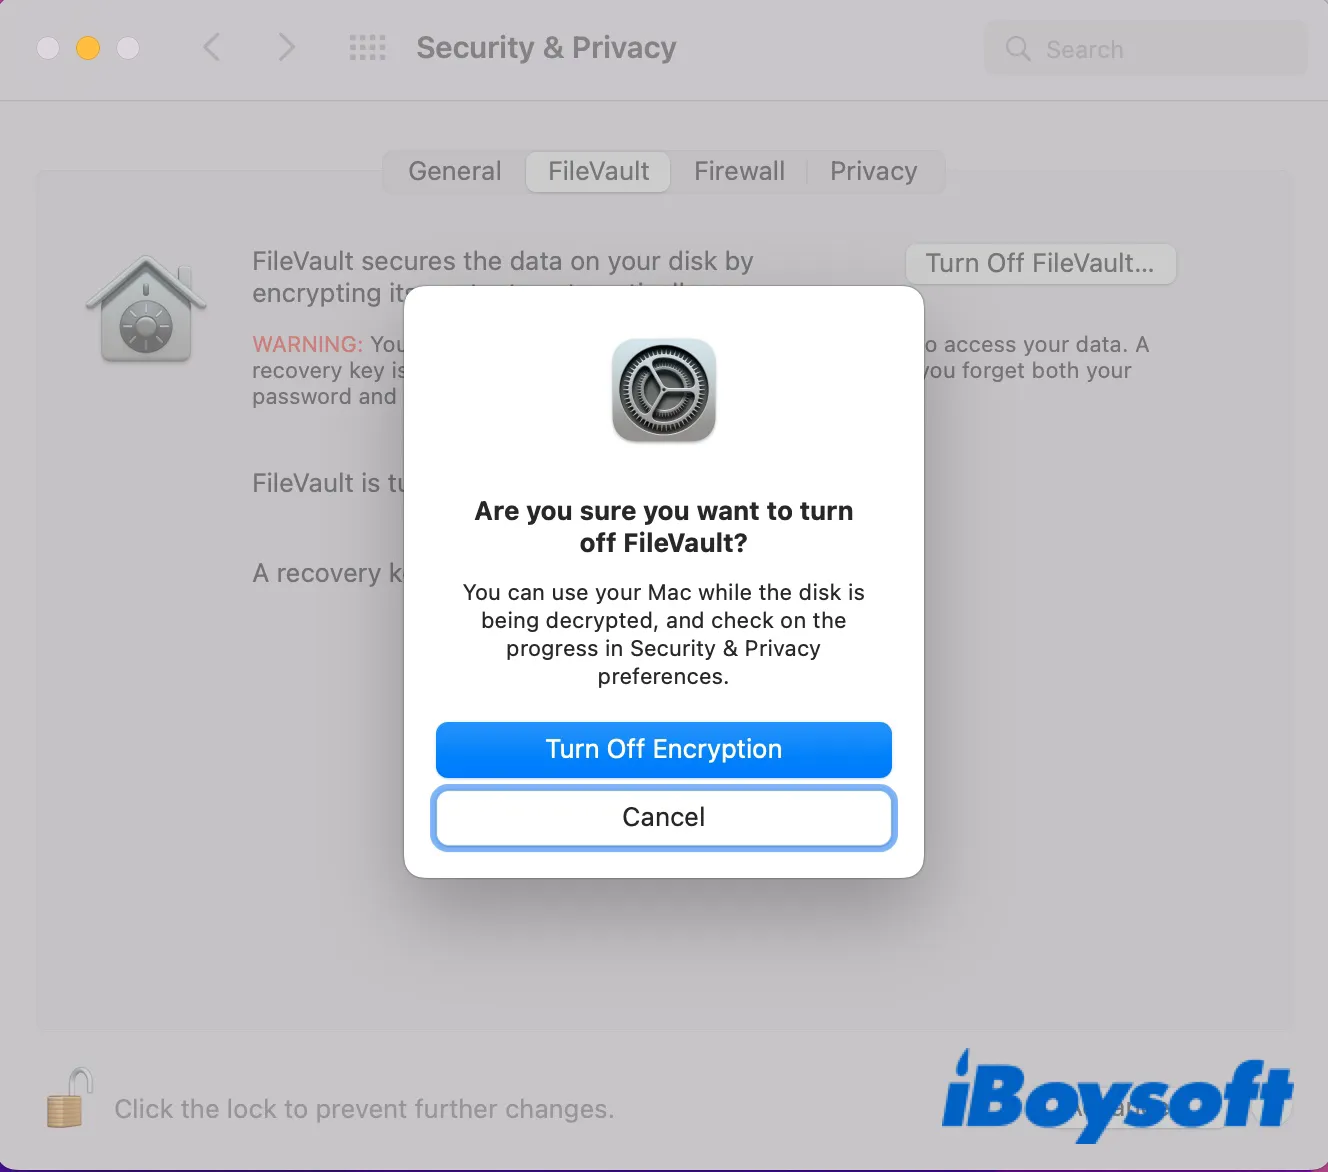
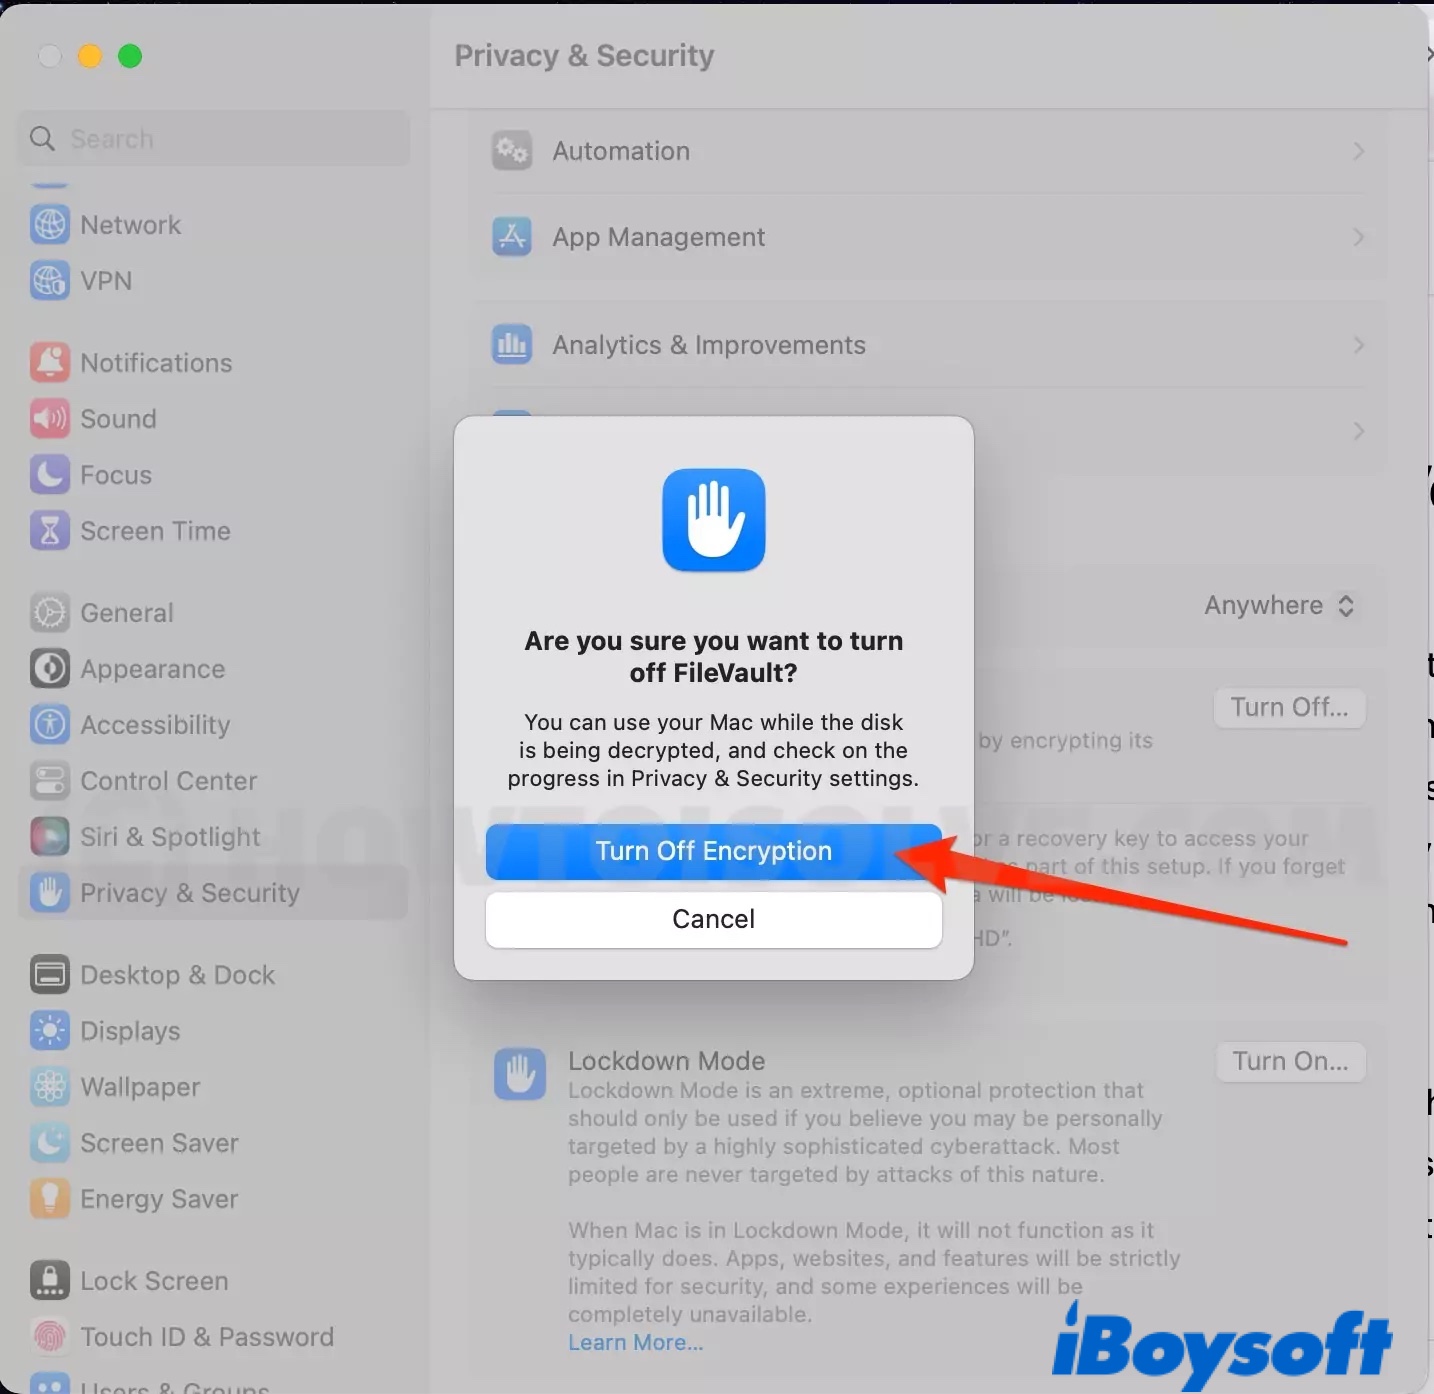
Disabling Filevault
To disable FileVault on your Mac, follow these simple steps:
- Go to System Preferences.
- Select Security & Privacy.
- Click on FileVault.
Once you have completed these steps, your FileVault encryption will be disabled. Keep in mind that disabling FileVault will remove the encryption from your files, so make sure you have an alternative method of securing your data.
Considerations Before Enabling/disabling
Considerations Before Enabling/Disabling
Before enabling or disabling FileVault on your Mac, it’s crucial to backup your data to prevent any loss during the encryption process. Checking the available disk space is also important, as enabling FileVault requires sufficient space on your Mac.
Credit: discussions.apple.com
Managing Filevault Users
Enabling FileVault provides security for your Mac by encrypting all the data on the disk. To add a new user to FileVault, go to “System Preferences” > “Security & Privacy” > “FileVault” and click the lock icon to make changes. Then click “Enable users” and enter the admin username and password to add a new user. To remove a user, click the “Users” tab under FileVault and then click the remove (-) button next to the user’s name. Confirm your choice by clicking “Remove” in the dialog box.
Troubleshooting Filevault Issues
To troubleshoot FileVault issues on your Mac, follow these simple steps:
- Forgotten Password: If you forget your FileVault password, you can reset it using your Apple ID.
- Recovery Key: Make sure to keep your Recovery Key in a safe place, as it can help you unlock FileVault if needed.
Best Practices For Filevault
Regular backups are essential when using FileVault on your Mac. By keeping up with regular backups, you can ensure that your important data is protected and easily recoverable. It is important to schedule backups at regular intervals to minimize the risk of data loss.
Another important practice when using FileVault is updating your recovery key. Updating your recovery key on a regular basis adds an extra layer of security to your encrypted data. It is recommended to update your recovery key every few months or whenever there are significant changes to your Mac’s configuration or user accounts.
| Tips for Enabling/Disabling FileVault on Mac |
|---|
| 1. Before enabling FileVault, ensure that you have a reliable backup of your data. |
| 2. When enabling FileVault, choose a strong and unique password to protect your encrypted disk. |
| 3. If you decide to disable FileVault, make sure you have a backup of all your important files before proceeding. |
| 4. Follow the proper steps provided by Apple to enable or disable FileVault on your Mac. |
Frequently Asked Questions For How To Enable/disable Filevault On Mac
How Can I Enable Filevault On My Mac?
To enable FileVault on your Mac, go to System Preferences, then Security & Privacy, and choose the FileVault tab. Click the lock icon, enter your administrator password, and follow the on-screen instructions to enable FileVault for your Mac.
What Are The Benefits Of Enabling Filevault On Mac?
Enabling FileVault on your Mac helps protect your data in case your Mac is lost or stolen. It encrypts the information on your Mac’s startup disk, so only authorized users can access the data, providing an extra layer of security for your files.
Can I Disable Filevault On My Mac Later If Needed?
Yes, you can disable FileVault on your Mac at any time. Simply go to System Preferences, then Security & Privacy, and choose the FileVault tab. Click the lock icon, enter your administrator password, and then select “Turn Off FileVault. “
What Happens If I Forget My Filevault Password?
If you forget your FileVault password, you can use your recovery key to unlock your disk and reset your password. Make sure to keep your recovery key in a safe place, as it’s crucial for regaining access to your encrypted data in case of a forgotten password.
Conclusion
Enabling or disabling FileVault on your Mac is a crucial step towards enhancing the security of your data. By following the simple steps mentioned in this guide, you can easily manage your FileVault settings. Remember, taking control of your privacy is essential in today’s digital age.
So, don’t wait any longer – secure your files with FileVault and enjoy peace of mind knowing that your sensitive information is safeguarded.